Tampilkan postingan dengan label ELF. Tampilkan semua postingan

Senin, 21 April 2014

Urban Decay Electric Palette Look #2!

Hey guys,
I am having so much fun with the Urban Decay Electric Palette! I can't get over how pigmented and flawless the pigments are.
I know I've only just put a look out but it took me soo long to do I didn't want to wait around any longer for another!
I am so tempted to wear this look out tomorrow! It's crazy bright but it looks amazing - I can't believe how well the colours blend together!
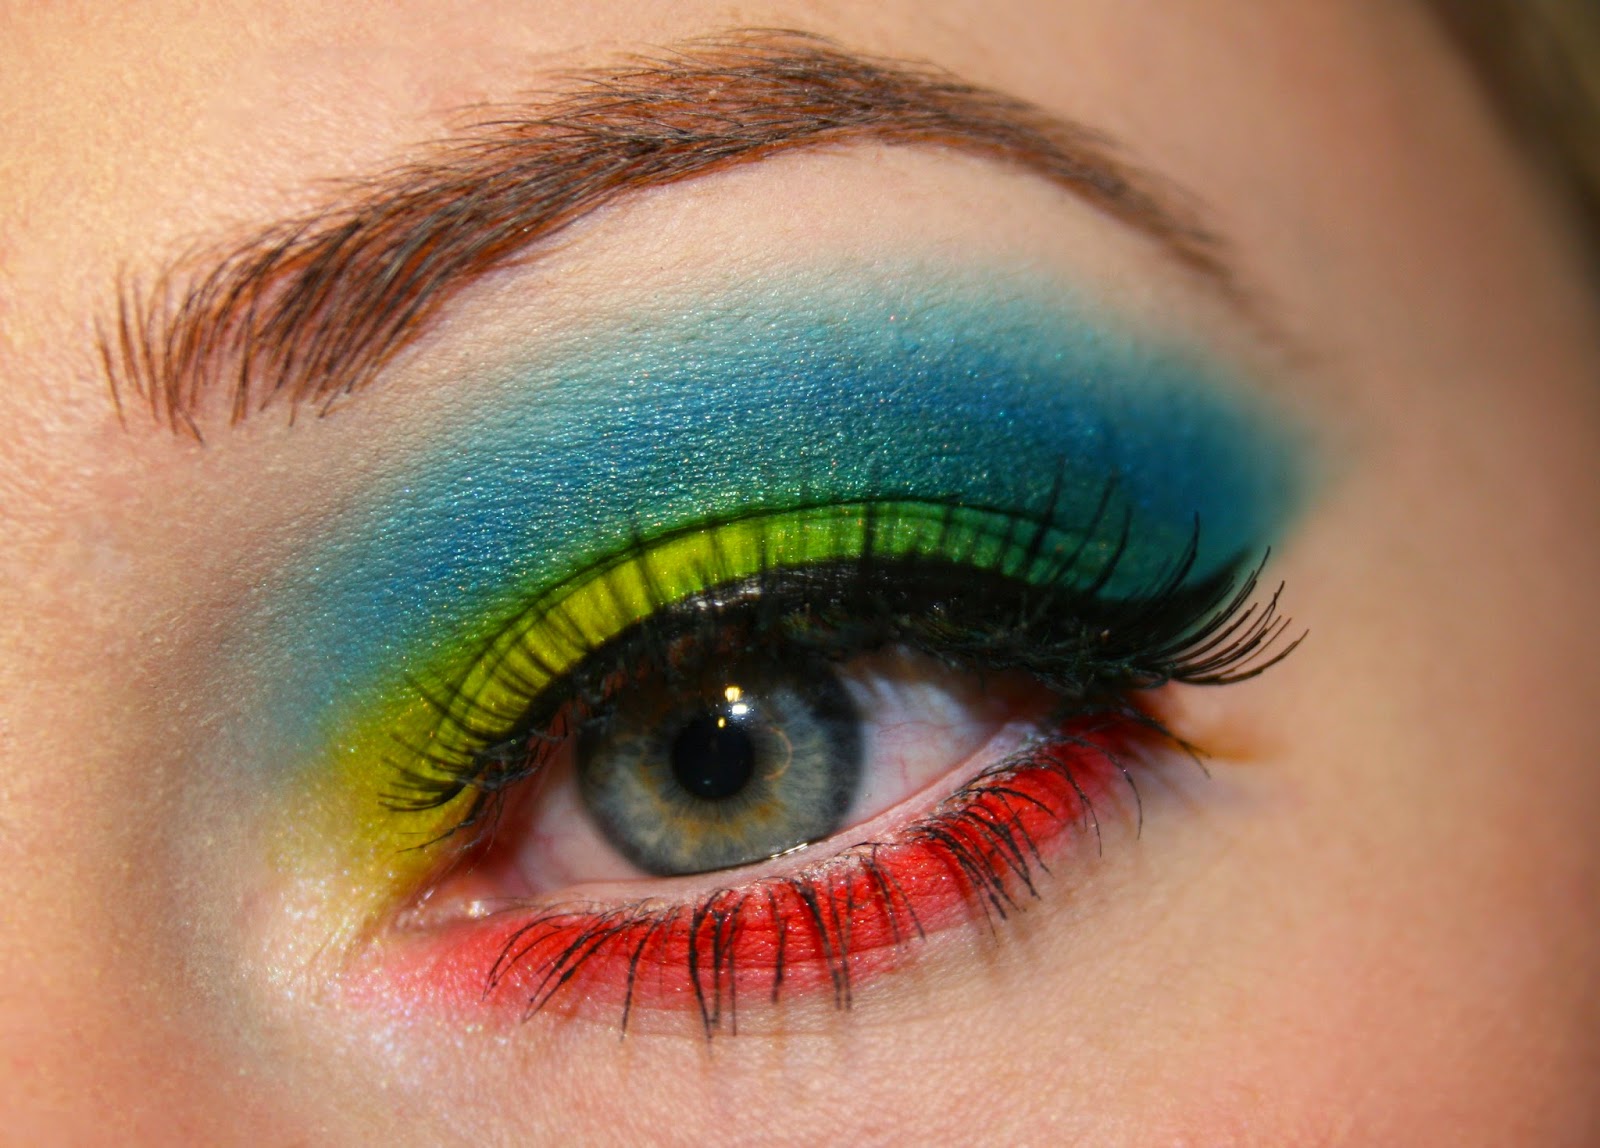
In this look I have used Slowburn, Savage, Jilted, Urban and Chaos. So half the colours in the palette!
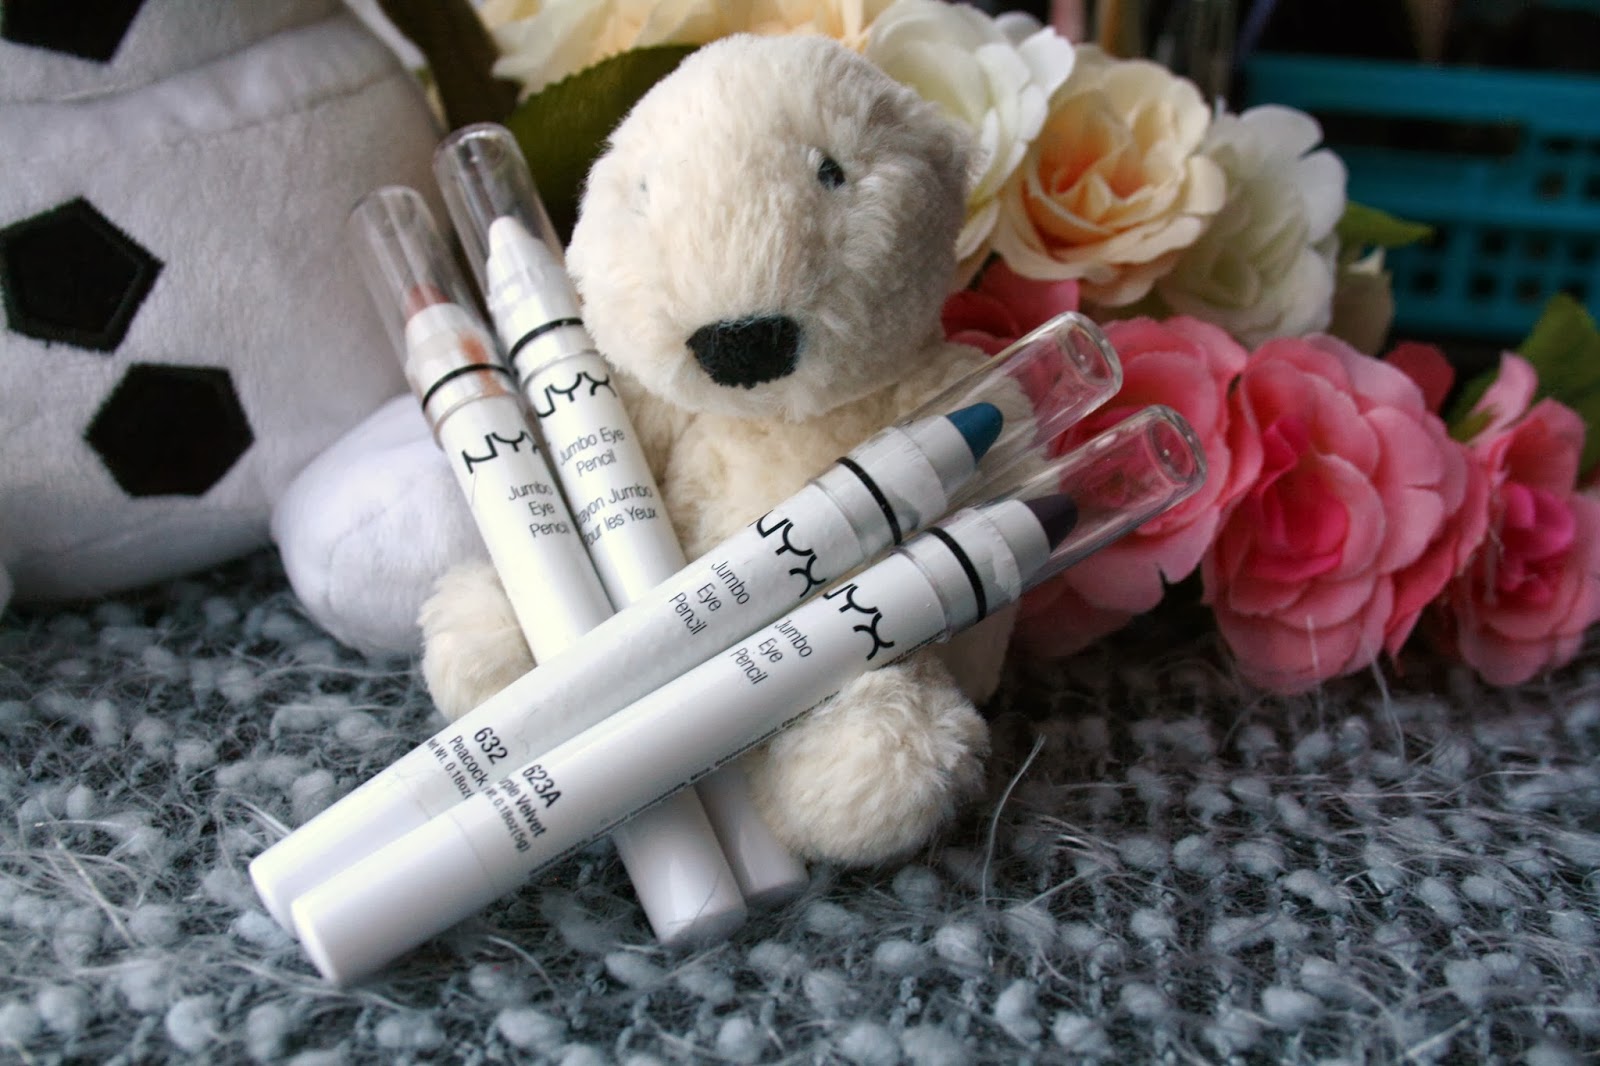
I started with ELF cosmetics primer and NYX jumbo eye pencil in Milk as my base and Slowburn on my entire eyelid.
Next I applied Savage into my crease and blended out with Mac's Blanc Type, then darkened my crease using Jilted.
For a finishing touch I applied Aura from UD's Glinda Palette.
To my lashline I applied Chaos very closely to my lashes, to later darken Urban which went over the top, and blended out with blanc type - to create a type of gradient effect.
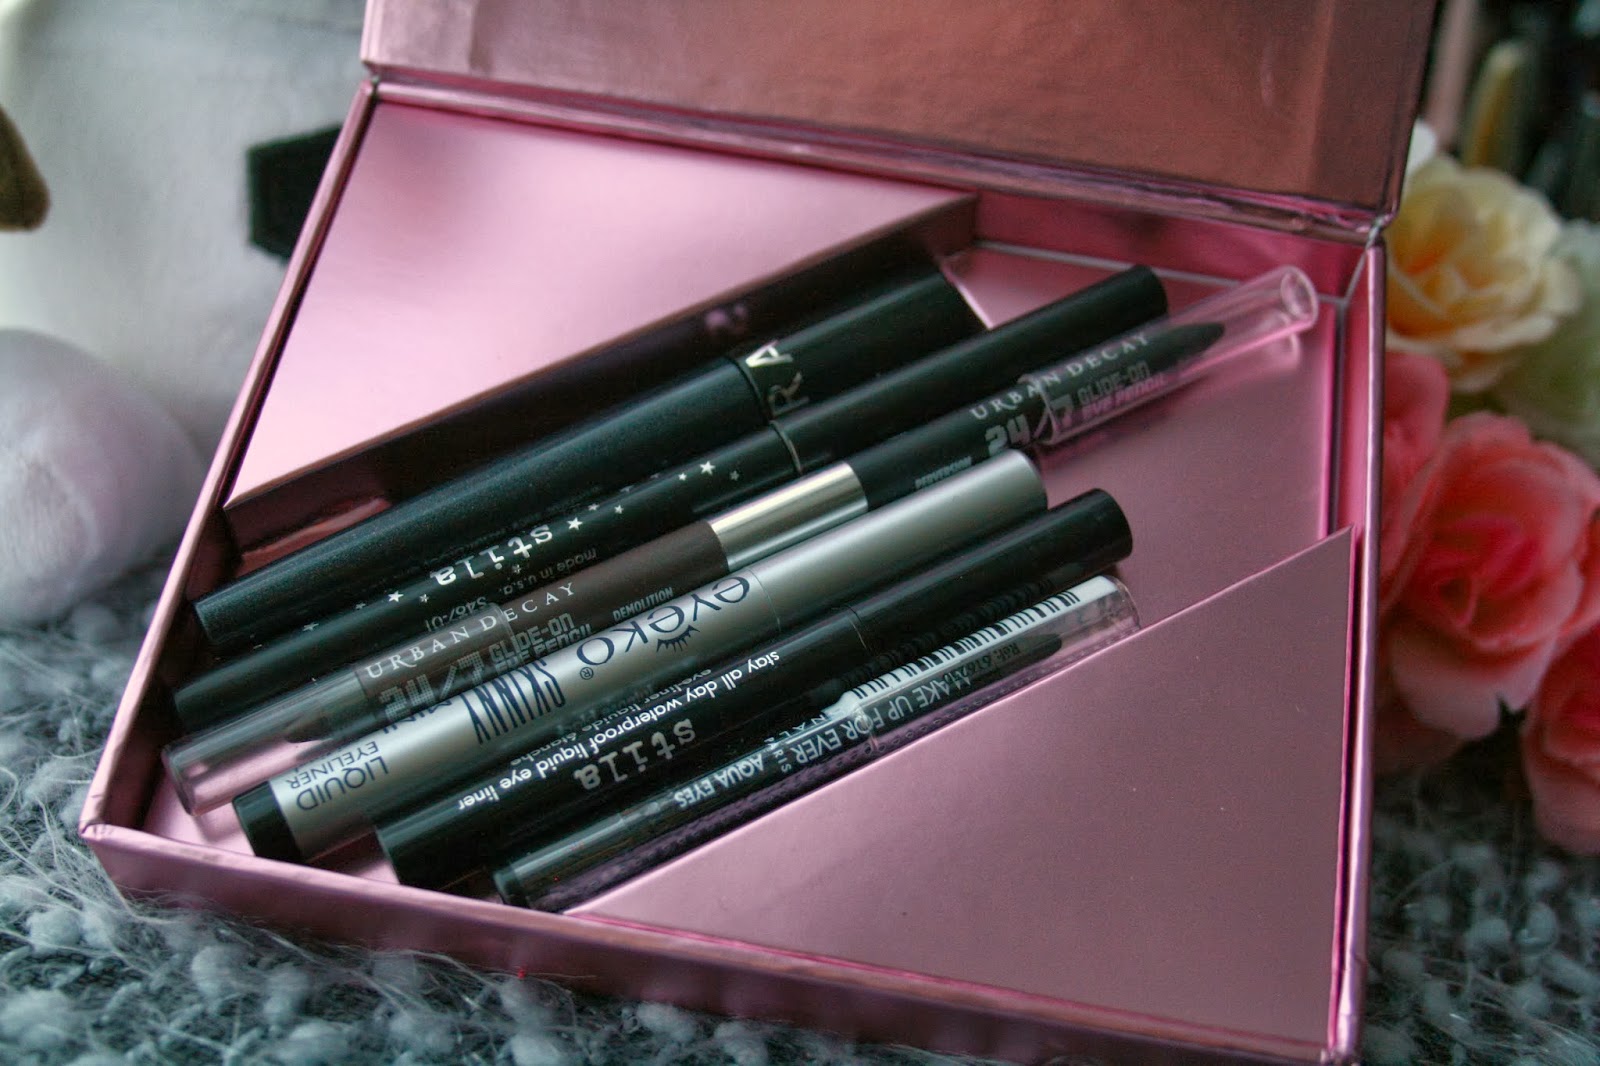
On my waterline is Rockstar 24/7 pencil from Urban Decay, and to create my wing I applied Perversion liquid liner.
...I think I'm a bit of an Urban Decay Junkie!
Lashes are the Princess Lashes from Born Pretty Store and Urban Decay Supercurl Curling Mascara.
So that's today's look, I hope you like it as much as I do! This is definitely a favourite of mine from recent months looks :)
x

Minggu, 20 April 2014

Urban Decay Electric Palette Look!

Hey guys!
I'm sorry I've been gone for a while, I've had a lot of hours at work lately and it's completely tired me out! I've had this look in my back pocket for a while and I absolutely love it! I needed to put it up asap - I'm just annoyed asap took so long!
Anyway here's the look, a bit picture heavy! I hope you like it :)
As always I started with my Elf primer and NYX jumbo eye pencil in Milk as my base.
To start my look, I applied Thrash over the inner two thirds of my eyelid. I cannot believe how pigmented this shadow was! I was expecting Thrash, Savage and Slowburn to be maybe a bit clear but the colour payoff is insane!
In the outer third and in my crease I applied gonzo which came out a stunning sky blue over NYX JEP in Milk, and sea blue over Thrash. In the very outer crease I use Fringe and a little Chaos.
On my brow bone I blended in Mac's Blanc Type with Gonzo to create a smoother finish and worked both shades of Aura from Urban Decay's The Great and Powerful Oz, Glinda Palette into my inner corner for a little bit of shimmer.
My eyeliner is Urban Decay's Perversion Liquid Liner and Lashes are the Princess Lashes from Born Pretty Store.
Under my lower lashes I applied Slowburn which is a gorgeous, bright shimmery orange shade.
On my waterline is Eyeko Skinner Kohl Liner in a light pink shade which I am loving at the moment. I do love using black eyeliner but it can make your eyes look so much smaller sometimes. The payoff in Eyeko's liners are fantastic and definitely worth the price.
Mascara is Urban Decay's Supercurl Curling Mascara and that's the look done!
I hope you like this look guys, fingers crossed I will have something new for you soon!
x

Senin, 31 Maret 2014

Disney Series: Snow White!

Hellooo!
I have ANOTHER Disney look for you guys today! I did this one the same day as my Tinkerbell look, but I haven't been too sure about it... Snow White is a lot simpler so it made it a lot more difficult to do a look that I liked! After about 3 attempts I finally decided I liked this one, I hope you do too!
I won't over do it with info on this post, it's not one of my favourites that's for sure but it's still cute!
To prime my eyes I used ELF primer all over, NYX jumbo eye pencil in Milk all over, and the yellow shade from Makeup Forever's Flash palette on my eyelid.
To set my yellow base, I used BAMM! from sleek makeup's V1 Mattes palette and also the top 2 yellow shades from Born Pretty Store's P88 Palette, to add a little shimmer.
To create the cut crease, I first went in with Chill from Sleek's V1 palette, and then with Bolt to darken.
To highlight I used POW from the same palette.
To create the eyeliner and the little snow white tear drop pattern, I used the Red from Makeup Forever's Flash palette - loving this palette right now!
For lashes, I used my Princess Lashes from Born Pretty Store (quite fitting!) and mascara is Urban Decay's SuperCurl Mascara.
On my waterline I used Stila Smudge Stick in Stingray, and that's the look! Very simple but soo hard to make it look right!
Hope you like my look and fingers crossed I'll have some more looks out soon :)
x

Rabu, 19 Maret 2014

Disney Series: Tinkerbell - Peter Pan

Hey Guys!
It's been so long since I've done a Disney Inspired look I thought one was well overdue! I haven't played around much with my Flash Palette from Makeup Forever either so this was the perfect opportunity.
For this Disney inspired look I've chosen to recreate Tinkerbell! I wasn't a huge Tinks fan when I was a kid but she's definitely grown on my in recent years!
Hope you like my look!
This look was so fun to recreate! I love it when I get a clear image in my head of what I want something to look like - and the pixie dust topped it off perfectly! Definitely Tinks!
Now this isn't the 'original' Tinkerbell from Peter Pan, this little starlet has plenty of her own movies now!
To start this look I used ELF Primer and NYX jumbo eye pencil in Milk as my base. Next I applied BAMM! from Sleek Makeup's V1 Palette onto my eyelid and then applied the top two yellow shades from my P88 palette from the born pretty store over the inner two thirds of my eyelid to add some yellow shimmer.
I applied Adam's Apple from Sleek's Garden of Eden palette into my crease and blended upwards. To darken my crease, I used Cricket and Dragonfly from the V1 palette and finally Fern from the V2 palette right in the outer corner to really darken the greens and create a shadow effect.
To finish my eyeshadow I used POW! from V1 as my brow highlight and Cricket and Fern under my lower lash line.
Next is eyeliner... Very simple - It's the white from the Flash Palette! Soo creamy!
To apply my Bellapierre Gold Holographic Glitter I used the Bellapierre Clear Eyeliner Base which is my saviour! I'd be lost without it!
Finally I applied my Urban Decay Supercurl Curling Mascara and a set of Eylure's #100 lashes.
Last but not least I created an ombre effect on my waterline using the white from Flash Palette and different shades of green eye shadows.
And that's the look! I hope you like my Tinkerbell recreation! I do have another Disney Inspired look ready to put up too! Might be my Friday post...
x

Kamis, 13 Maret 2014

Inglot Eyeshadow Look

Hello guys! Sorry I've been gone so long! I've recently got a new job so I haven't had as much free time as I did before. I've got a few days off now though so hoping to get some more posts ready!
Every since I got my new Inglot shades, I've wanted to play around with them - finally I got the chance! I hope you like my look!
Inglot shade 369, the light blue, was so pigmented and easy to blend, a great surprise from such a pastel colour. Not at all chalky and pay off was fantastic, I will definitely be visiting Inglot sometime soon for some similar colours!
I've blended it with Highness and Villan in the very outer corner, from Sleek V2 Palette, and the pink is a shade from my P88 Palette from Born Pretty. Eyeliner is Control from Lush and currently my favourite liner! Such a beautiful colour and an easy way to add a pop of colour to your look when rushing your makeup!
In my inner corner I've added Inglot shade 24, which I am also loving. It has such a gorgeous shimmer which lasts all day. Under my eye I carried on shade 24 until the middle of my eye and blended it out into my outer corner using Ink from Sleek V2 Palette.
 
I didn't get as far as applying eyelashes until I RUINED this look with mascara all over my top lid -_- there was no coming back from the mistake I made...but it's still a lovely look, which I wore to work the next day!
I hope you like it, let me know what you think!
I'm thinking a new Sleek Palette Look next maybe? We'll see...
x

Jumat, 21 Februari 2014

Lush Intuitive Makeup Look! Aka...The Tizzy Look!

Hey guys,
My wonderful best friend, Tizzy bought me one of Lush's cream eyeshadows as part of my birthday present (she knows me too well) so I thought seeming as I am missing her so much I'd do a look just for her! I moved last month to Cambridge from the Isle of Wight and I don't know how I've coped so long without her D:
I hope you like my look!
Lush Intuitive is a golden lime-green, shimmery cream eyeshadow which dries within a few seconds making it perfect for layering, but if you're quick enough it works as a great eyeshadow base too.
I absolutely adore the little bottles the emotional brilliance products come in! They look so cute lined up on my makeup table.
At first glance this colour might not seem to be everyone's taste but it's definitely worth a swatch. If you layer this colour up you get a beautiful vibrant green with golden shimmer, however if you want something more subtle then just use a little and you get a wash of gold shimmer with a slight green tone which would look beautiful with hazel eyes.
I used ELF primer as my base, and added Intuitive over my eyelid a couple of times to build up a good solid colour. To set the colour I used Fig from Sleek's Garden of Eden Palette as it's a pretty good match!
From Sleek's Ultra Matts V1 palette I used Cricket and Dragonfly to darken the crease and Pow! on my brow bone. To blend out the crease I used Adam's Apple from Garden of Eden, and Fern from Ultra Matts V2 in the outer corner of my eye to create a darker shadow effect.
To highlight my inner corner, I added Oyster from Sleek's Lagoon palette (love this shade!) and to line my lower lash line I applied Intuitive, and Fern.
My winged eyeliner is Urban Decay 24/7 Liquid Eyeliner in Perversion and Stila Smudge Stick in Stingray to line my waterline. Both are my go to liners, I'd be lost without them!
Eyelashes are my favourite Eylure #100 and mascara is Max Factor Excess Volume.
So that's my look! I hope you like it :)
x

Selasa, 14 Januari 2014

Sleek Snapshots Palette Look!

Hello everyone!
I was going to leave this look for a few more days, but I love it too much so I thought I'd post it now!
I recently got 4 more Sleek palettes, some I was lucky enough to get for Christmas, and I want to do a look using every one! Or maybe two or three...
So here's the first look, using the Snapshots Palette!
http://enchantedmakeup.blogspot.co.uk/2014/01/sleek-snapshots-palette-look.html
The colours in this palette are incredible to work with. Some swatch a little different to how they look in the pan, which I kind of like, makes a nice surprise! Humming Bird has an amazing golden shimmer which you can't tell until applied.
This is what the pretty palette looks like! The colours are: TOP (L-R) Summer Breeze, Sand Dollar, Kiwi Flower, Lotus Flower, Humming Bird, Tequila Sunrise
BOTTOM (L-R) Sand Walker, Washed Ashore, Sunset, Green Iguana, Purple Haze, Magenta Madness.
I started with ELF primer, and NYX jumbo pencil in milk as my base. I then used Sand Walker on a small, flat angled brush to line where I wanted my crease.
Next, I patted on Summer Breeze using a small C brush onto my entire lid.
Using Purple Haze I went over Sand Walker to define my crease and blended slightly.
Using a small fluffy pencil brush I blended Magenta Madness into the Purple Haze and upwards. Using a pencil brush, I went over the crease with Purple Haze again and blended into the outer half of my lid. To create a smoother transition I finished my lid with Green Iguana.
In my inner corner I applied Sand Dollar (which I love!) and used Purple Haze and Sand Dollar under my lash line. I applied Purple Haze with a flat brush on my waterline.
Eyelashes are #100 from Eylure and my mascara as always is MAC Plush Lash and Benefit They're Real. They were beautifully together!
So that's my look! I hope you like it as much as I do! I can't wait to do another look with this palette, but first, a look with all the others!
I hope you like it! And thank you for all your lovely comments! It always brightens my day reading them :)
x

Senin, 16 Desember 2013

Daily Eyeshadow Look using Born Pretty Makeup!

Hey Guys!
I'm having great fun with my new makeup palette from Born Pretty Store so I thought I'd show you another look. It's the one I've been wearing to work for the last few days, I hope you like it!
I find when I do simple looks they never want to photograph well so I've only got one close up pic, sorry!
As always it's over ELF Eye Primer and NYX Jumbo Eye Pencil in Milk.
P88 Palette
I used the two bottom left colours as my main eyelid shade, the three lightest browns on the right in the crease, to blend out and to add a little sparkle.
The white in the top left as my highlighter, and the darkest two from the bottom right corner to darken my lashline; like eyeliner but without the thick black line!
To finish, MAC Plush Lash Mascara and Benefit They're Real, and done.
Aaand this is why I don't take photos of my face. Haha!
If anyone wants to see a 'tutorial' (or list basically...) of what I use on my face, then let me know and I'll get started on a post!
I use Benefit Hoola to contour, MAC's Lightscapade as my highlighter, and just the moisture Babylips on my lips as they are so dry because of the cold!
 
So just a quick post today! I hope you like it!
x
 
Disclaimer: Some or all of the products included in this post may have been provided by the company, brands or PR representatives for possible use and reviews.
I will always give my honest opinion on the products, whether given to me for free or bought with my own money.

Minggu, 15 Desember 2013

Christmas Past Eyeshadow Look!

Hey guys!
As promised, here's my look using all my new products from Born Pretty Store!
I wanted to start doing some Christmas looks but for some reason my brush went straight for the gorgeous pastel pink colour! This look reminds me of everything from my Christmas past. When I was little I wanted Barbie dolls, jewellery, makeup - anything as long as it was girly! And I always lovely my Christmas party dresses!
All the colours I used were over ELF primer and NYX Jumbo Eye Pencil in Milk, and they all came from the P88 Palette from Born Pretty.

I thought I'd make life easy and show you the colours I used in this look :)
I also used my princess lashes in M-3 which were so easy to wear and they looked great too. Sometimes eyelashes can be quite heavy on your eyes, and can make you look half asleep because of the weight of them however it wasn't the case for these little lovelies!
All the colours were very pigmented, even the baby pink which I couldn't believe! I also used the darkest purple on my waterline and with a bit of Mac's Fix+ I used it as an eyeliner too!
The only brushes I used were the ones from Born Pretty! The pencil brush and fluffly angled brush were a dream to work with. The C brush needs a few washes to try and soften it a bit! It was a little harsh on the skin but it packed eyeshadow on brilliantly.
I thought this look would be great with some sparkle so I used a mix of a lilac and silver cream glitter from a halloween wet'n'wild palette for a touch of sparkly eyeliner.
My mascara as always is MAC's plush lash and Benefit's They're Real.
 
I can't wait to do another look using this palette! I have so many ideas!
I hope you like this look, don't forget to check out the born pretty store and use GEG10 for 10% off!
x
 
Disclaimer: Some or all of the products included in this post may have been provided by the company, brands or PR representatives for possible use and reviews.
I will always give my honest opinion on the products, whether given to me for free or bought with my own money.

Jumat, 29 November 2013

American Makeup Haul!

Hey guys, thought I better get back into blogging properly!
Shopping for makeup in America was just amazing! I think my boyfriend got bored very quickly of me dragging him around the shops, but I've never been into a Sephora or Ulta before. OH. MY. GOD. It's like heaven! Everything was so much cheaper too! I loved it and can't wait to go back some day!
Anyway, here's some pictures of what I picked up, I can't wait to get some looks going! And sorry about some crappy photos! It started to get dark really early and my set up space sucked!


Well I hope you liked my purchases! I'm sure I'll do more detailed reviews of the products in the future and they'll all feature in some looks I'm planning!
I can't wait see what I can come up with!
x

Lush Oxford Street! Haul and Make-up Review

Hey guys! Yesterday I got to go to the brand new Lush store on Oxford Street! It was absolutely amazing! They opened the doors a day early f...