Tampilkan postingan dengan label make up. Tampilkan semua postingan

Senin, 21 April 2014

Urban Decay Electric Palette Look #2!

Hey guys,
I am having so much fun with the Urban Decay Electric Palette! I can't get over how pigmented and flawless the pigments are.
I know I've only just put a look out but it took me soo long to do I didn't want to wait around any longer for another!
I am so tempted to wear this look out tomorrow! It's crazy bright but it looks amazing - I can't believe how well the colours blend together!
In this look I have used Slowburn, Savage, Jilted, Urban and Chaos. So half the colours in the palette!
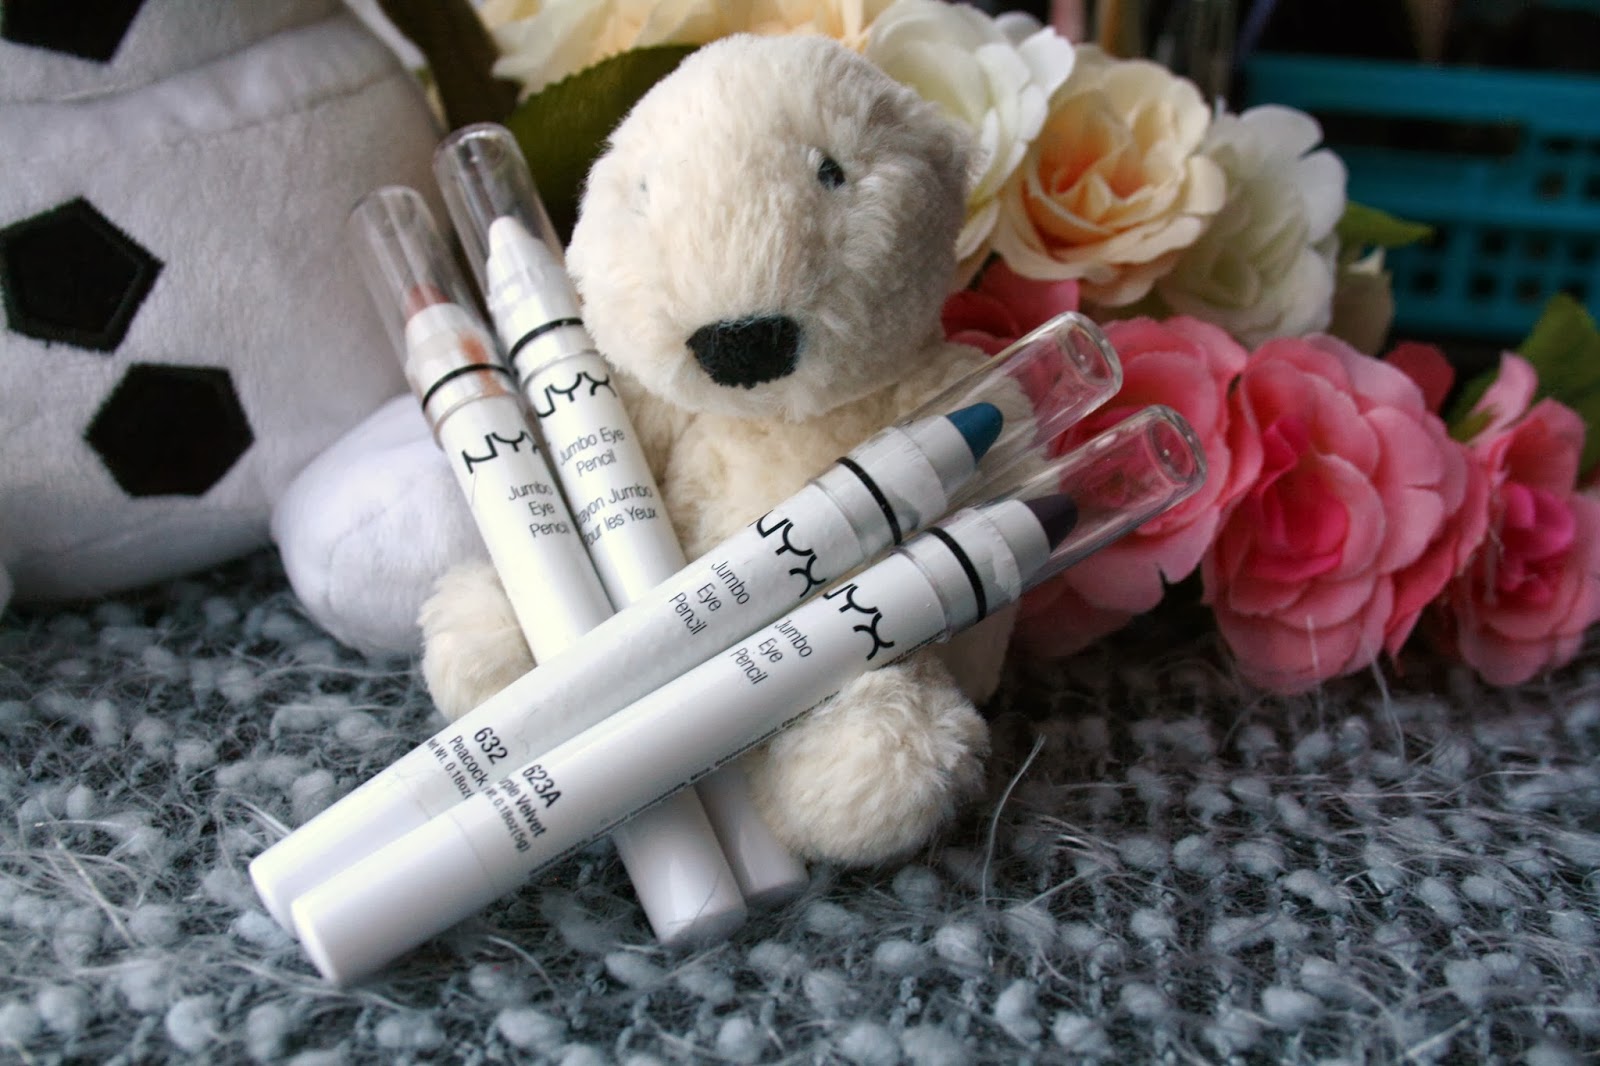
I started with ELF cosmetics primer and NYX jumbo eye pencil in Milk as my base and Slowburn on my entire eyelid.
Next I applied Savage into my crease and blended out with Mac's Blanc Type, then darkened my crease using Jilted.
For a finishing touch I applied Aura from UD's Glinda Palette.
To my lashline I applied Chaos very closely to my lashes, to later darken Urban which went over the top, and blended out with blanc type - to create a type of gradient effect.
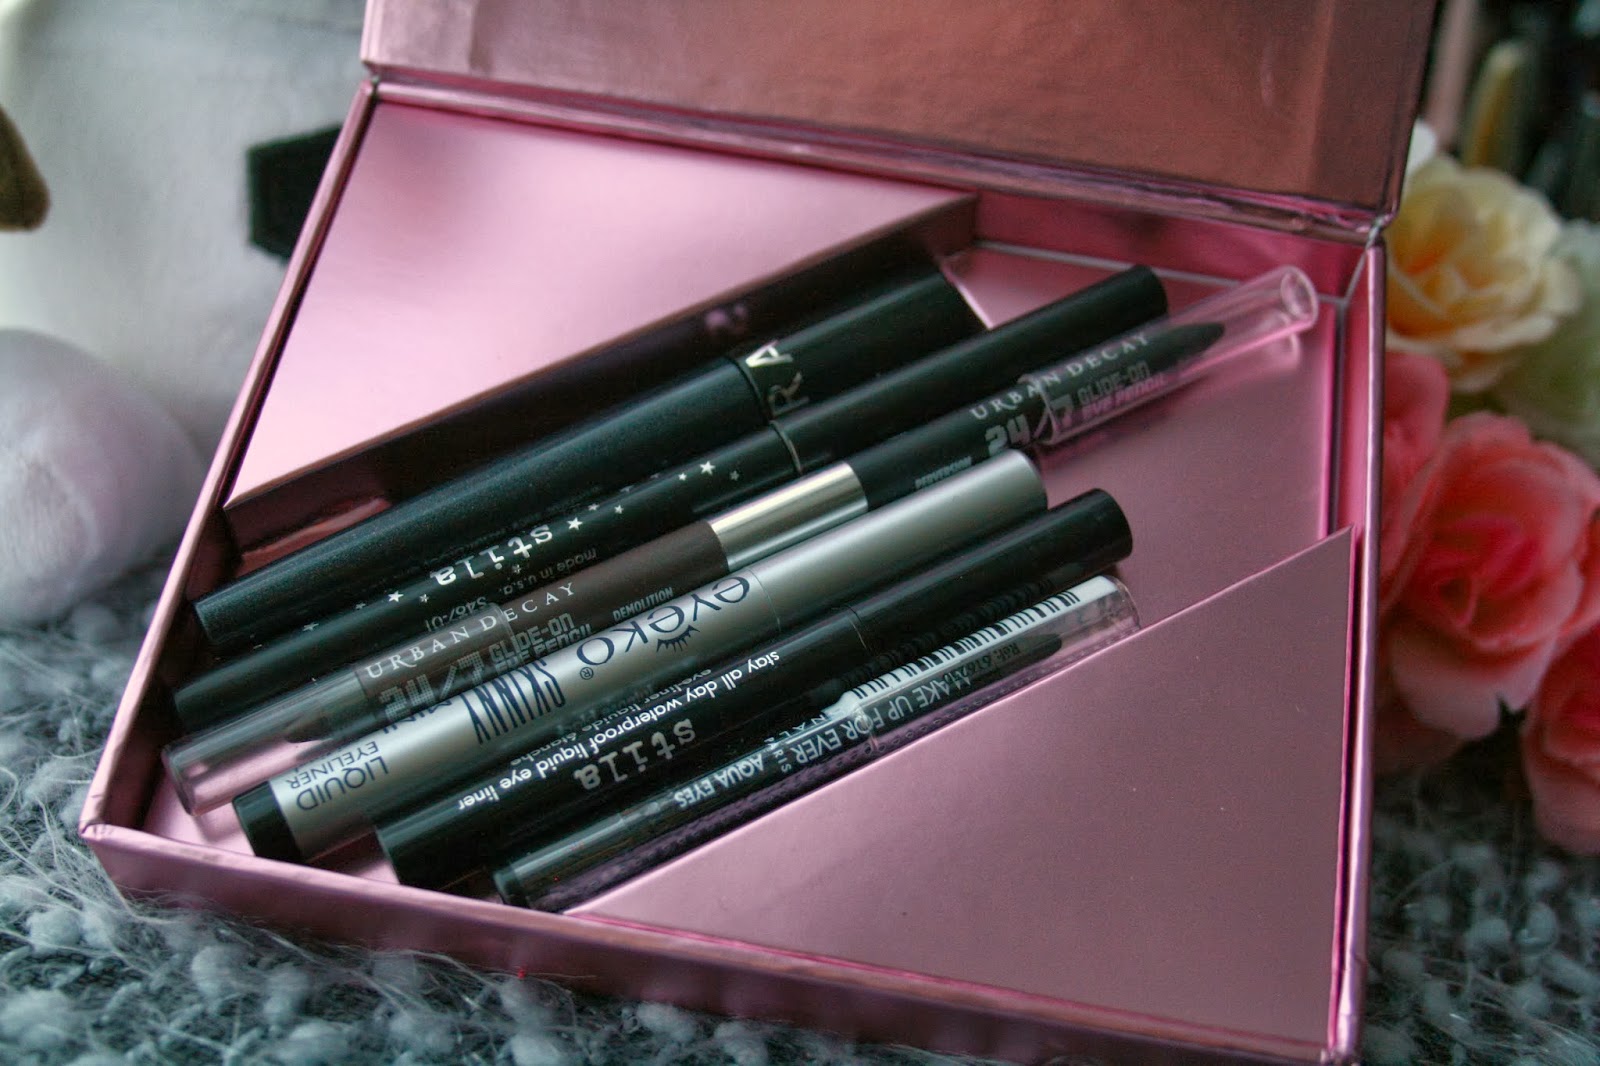
On my waterline is Rockstar 24/7 pencil from Urban Decay, and to create my wing I applied Perversion liquid liner.
...I think I'm a bit of an Urban Decay Junkie!
Lashes are the Princess Lashes from Born Pretty Store and Urban Decay Supercurl Curling Mascara.
So that's today's look, I hope you like it as much as I do! This is definitely a favourite of mine from recent months looks :)
x

Senin, 31 Maret 2014

Disney Series: Snow White!

Hellooo!
I have ANOTHER Disney look for you guys today! I did this one the same day as my Tinkerbell look, but I haven't been too sure about it... Snow White is a lot simpler so it made it a lot more difficult to do a look that I liked! After about 3 attempts I finally decided I liked this one, I hope you do too!
I won't over do it with info on this post, it's not one of my favourites that's for sure but it's still cute!
To prime my eyes I used ELF primer all over, NYX jumbo eye pencil in Milk all over, and the yellow shade from Makeup Forever's Flash palette on my eyelid.
To set my yellow base, I used BAMM! from sleek makeup's V1 Mattes palette and also the top 2 yellow shades from Born Pretty Store's P88 Palette, to add a little shimmer.
To create the cut crease, I first went in with Chill from Sleek's V1 palette, and then with Bolt to darken.
To highlight I used POW from the same palette.
To create the eyeliner and the little snow white tear drop pattern, I used the Red from Makeup Forever's Flash palette - loving this palette right now!
For lashes, I used my Princess Lashes from Born Pretty Store (quite fitting!) and mascara is Urban Decay's SuperCurl Mascara.
On my waterline I used Stila Smudge Stick in Stingray, and that's the look! Very simple but soo hard to make it look right!
Hope you like my look and fingers crossed I'll have some more looks out soon :)
x

Senin, 16 Desember 2013

Daily Eyeshadow Look using Born Pretty Makeup!

Hey Guys!
I'm having great fun with my new makeup palette from Born Pretty Store so I thought I'd show you another look. It's the one I've been wearing to work for the last few days, I hope you like it!
I find when I do simple looks they never want to photograph well so I've only got one close up pic, sorry!
As always it's over ELF Eye Primer and NYX Jumbo Eye Pencil in Milk.
P88 Palette
I used the two bottom left colours as my main eyelid shade, the three lightest browns on the right in the crease, to blend out and to add a little sparkle.
The white in the top left as my highlighter, and the darkest two from the bottom right corner to darken my lashline; like eyeliner but without the thick black line!
To finish, MAC Plush Lash Mascara and Benefit They're Real, and done.
Aaand this is why I don't take photos of my face. Haha!
If anyone wants to see a 'tutorial' (or list basically...) of what I use on my face, then let me know and I'll get started on a post!
I use Benefit Hoola to contour, MAC's Lightscapade as my highlighter, and just the moisture Babylips on my lips as they are so dry because of the cold!
 
So just a quick post today! I hope you like it!
x
 
Disclaimer: Some or all of the products included in this post may have been provided by the company, brands or PR representatives for possible use and reviews.
I will always give my honest opinion on the products, whether given to me for free or bought with my own money.

Jumat, 29 November 2013

American Makeup Haul!

Hey guys, thought I better get back into blogging properly!
Shopping for makeup in America was just amazing! I think my boyfriend got bored very quickly of me dragging him around the shops, but I've never been into a Sephora or Ulta before. OH. MY. GOD. It's like heaven! Everything was so much cheaper too! I loved it and can't wait to go back some day!
Anyway, here's some pictures of what I picked up, I can't wait to get some looks going! And sorry about some crappy photos! It started to get dark really early and my set up space sucked!


Well I hope you liked my purchases! I'm sure I'll do more detailed reviews of the products in the future and they'll all feature in some looks I'm planning!
I can't wait see what I can come up with!
x

Kamis, 17 Oktober 2013

Shall Not Be Mourned - Shiro Cosmetics Look

Hey Guys!
A friend of mine recently introduced me to Shiro Cosmetics and gave me two little samples of some of the pigments they make. I've never really used pigments before, I've always preffered eye shadows but these colours are just so beautiful! Sometimes it just has to be pigments! The main ingredient of Shiro Cosmetics Pigments are Mica which means the colour payoff is amazing and if you check out the amazing variety of colours available you'll see why it's going to be my latest addiction!
So this is my second look using the pigment Shall Not Be Mourned which is a beautiful dark gold and black colour.
To start I used ELF eye primer, then blended out Maple from Sleeks V2 Ultra Matts around my crease. I applied NYX jumbo eye pencil in Milk on my eyelid and first applied Paperbag from the same Sleek palette on the outer third of my eyelid before applying Shall Not Be Mourned pigment all over my eyelid and below my lower lashes.
I used Collection 2000 felt tip liner in black to create a winged liner, and Urban Decay Liquid Liner in El Durado underneath the wing and as the wings tip. Lashes are by Eylure, Either #100 or #140. I love them both so much!
As my inner corner highlight I applied Sin from Urban Decay Naked 2 palette and finished with UD 24/7 pencil eyeliner in perversion on my waterline and Benefit They're Real on my lashes.
Both of my looks for Shiro Cosmetics have been inspired by Hallowe'en I guess! I can't wait to be spending it in America! I leave on Monday so I may be MIA from blogging for a while whilst I'm there!
What I love about these pigments the most are how versitle they are! This one in particular is lip safe and by applying them wet, they create completely different looks! I mixed them both with clear nail varnish aswell and they make super gorgeous nail varnishes! Shall Not Be Mourned comes out looking like liquid gold!
 
Anyway, I hope you like my looks! I can't wait to order some pigments from Shiro Cosmetics to try out some more looks with!
 
x

Minggu, 06 Oktober 2013

Hallowe'en Look! The Evil Queen / Vampire

Hello guys! It's been so long since I've posted a look! I was going to leave it another day as I feel rotten but I couldn't do it! I need to post my first Hallowe'en look! (a little excited...)


So here's the first look for you guys, my version of an Evil Queen / Vampire Queen!
I put a post up a little while back featuring some of the looks I wanted to do for Hallowe'en this year, and this was one of them, however it was my first attempt/trial run! I don't usually do them, but I had some great ideas in my head and I wanted to get them out 'on paper'. I'm useless with drawings and face charts so it's really the only way for me to show what I'm thinking.
In my trial run I used purples instead of reds (only because that's the colour I wore that day!) however blood red was always what I visioned! When else do you get to wear red eyeshadow apart from on Hallowe'en? Lets make the most of it!
I started with my ELF primer (only £1.50 and I love it!) and NYX jumbo eye pencil in Milk all over my eyelids where I knew I was going to apply colour. Then with a No.7 soft kohl eyeliner pencil in Black I followed the bone just above my crease to use this as the outline for my shadows.
Starting with the darkest colour I applied the red eyeshadows (all different shades from NYX, sorry I have no idea on names!) and then added my inner highlight colour which is from my Urban Decay Glinda Palette, called Illusion.
I used a matte white shadow as my brow highlight, from my Sleek Matts V2 palette and then, using a sharp, flat angled brush I used Blackout from Urban Decays Naked 2 palette, and went over the black outline. I LOVE this black! It's so pigmented! I then applied Benefit's They're Real mascara and my favourite Eylure Lashes and we're done! I could've made the overall look bigger, but I like when my eyes are closed you only get a glimpse of the red shadow. I might experiment with this in the future!
I hope you like my look! Please leave a comment below and let me know what you think, I love hearing from you and reply as soon as I can!
If you're going to recreate any of my looks PLEASE link me! I would love to see what people come up with!
Quick Tip: If you are going to try and recreate this look, make sure you use a soft, well sharpened eyeliner pencil! (UD 24/7 pencils are great for this) If its not soft or sharp enough, it will pull your skin and you won't be able to get a sharp line!
 
Hope you like! x

Sabtu, 28 September 2013

LAST FEW DAYS TO ENTER MY GIVEAWAY!

Hey guys! There's only a few days left to enter my giveaway! You have until Monday night, don't forget to enter!
You can win a Sleek UltraMatts V2 Palette
OPI Diva of Geneva Nail Polish
and
MAC Lipstick in Speed Dial!
All you need to do is ENTER HERE!

Selasa, 24 September 2013

Halloween ideas!

Hey guys! I am soo excited that I'll be spending Hallowe'en in America this year!! I love Hallowe'en so I thought I might do a few Hallowe'en inspired looks! I've done a few practise runs so thought I'd show you a few things that will be coming up on my blog!
Red ombre lips! Perfect for Evil Queens or Vampires!

Werewolf! Obviously I would block out my brow but it's such a pain in the ass I only half attempted it! Some wolf-like contact lenses would be awesome with this look! I'm too scared to use them!

Pixie/ Fairy Look! Minus some awesome colorful lashes, bright eyeliner and glitter! And My Evil Queen/ Vampire look!

My Evil Queen / Vampire Inspired eye makeup! My favourite! I can't wait to do this one properly with some super intense raven-esque eyelashes!
 
So that's just a few of my ideas! I'll start doing them properly and hopefully get some blog posts out soon! I'm so excited for Hallowe'en! What are people going to be dressing up as?

Jumat, 13 September 2013

Disney Series: Aurora's Dress - Sleeping Beauty

Hellooooo! Sorry I've been away from the computer for a while, busy times at the moment!
I'm coming back with a new one for my Disney Series though! I've started running out of ideas so please leave me a comment if you can think of anything! I will tag you in the look that I do! :)
 
This look was inspired by Aurora's colour changing dress!
This used to be my favourite scene of any Disney movie when I was little! And when the other fair godmother was making the cake! I love it!
I used my sleek palettes as always, I-candy, V1 and V2 matts and I wanted to try out my new Dainty Doll shadow in Cocabana - which is the base blue colour in this look.
I've recently dyed my hair blonde and was trying out different looks. I feel with lighter hair, I can get away with darker eye looks which is great fun! So expect to see more of them up on my blog!
So that's my look! Just a quick one for today. As always I've used my Mac plush lash mascara and Benefit They're Real mascara, also my NYX jumbo eye pencil in Milk, and just a matte white highlighter on my brow bone and under the wing of my eyeliner (Eyeko mini skinny liner)

Don't forget to check out my giveaway! Very simple to enter, just be a follower and comment!

Minggu, 18 Agustus 2013

'Gold Smoke' Eye look...

Hey guys,
As you know, I wasn't very well last week so I haven't done any looks recently, so as soon as I started feeling better I was in my makeup chair!
The lighting wasn't fantastic, still getting yellow shadows, but I felt inspired the other night, and really want to use some products I haven't used for a while and play with the new lashes I made! So here's my look :)
It's a pretty simple look but the gold really does make it look stunning in person! I won't say too much about it, listing the products I used would take forever! They were from loads of different palettes because I was just playing around but this would be an easy to get look from using either the Urban Decay Naked or Naked 2 palettes, or Sleek Storm Palette.
Instead of using a matte white highlighter, like I usually do, I use a cream shadow with gold shimmer which definitely worked better than my usual go to! It actually seemed to make my eyes look bigger by taking the complete look higher, and using a darker shadow nearer my inner corner, and just using the gold on the centre third of my eyelid (and slightly bringing it in with my blending brush) made my eyes look a lot rounder too.
I made my false eyelashes using a pair I got ages ago from ELF which I'd never touched, and using duo glue, I added the gems which were from a nail art kit I picked up in River Island. They were my first attempt at making them so I was pretty happy! Although there's always room for improvement!
So that's my finished look :) I have fallen in love with my mascara from Benefit (They're Real) which I did at first hate! But wearing it over Mac's Black Lash makes my lashes so much thicker and longer! I love it!
 
I might start doing some tutorials of some of my looks, if you think it's a good idea then please leave me a comment and let me know!
Hope you've all had a nice weekend!
x

Lush Oxford Street! Haul and Make-up Review

Hey guys! Yesterday I got to go to the brand new Lush store on Oxford Street! It was absolutely amazing! They opened the doors a day early f...